4 Camera setups for overhead photography
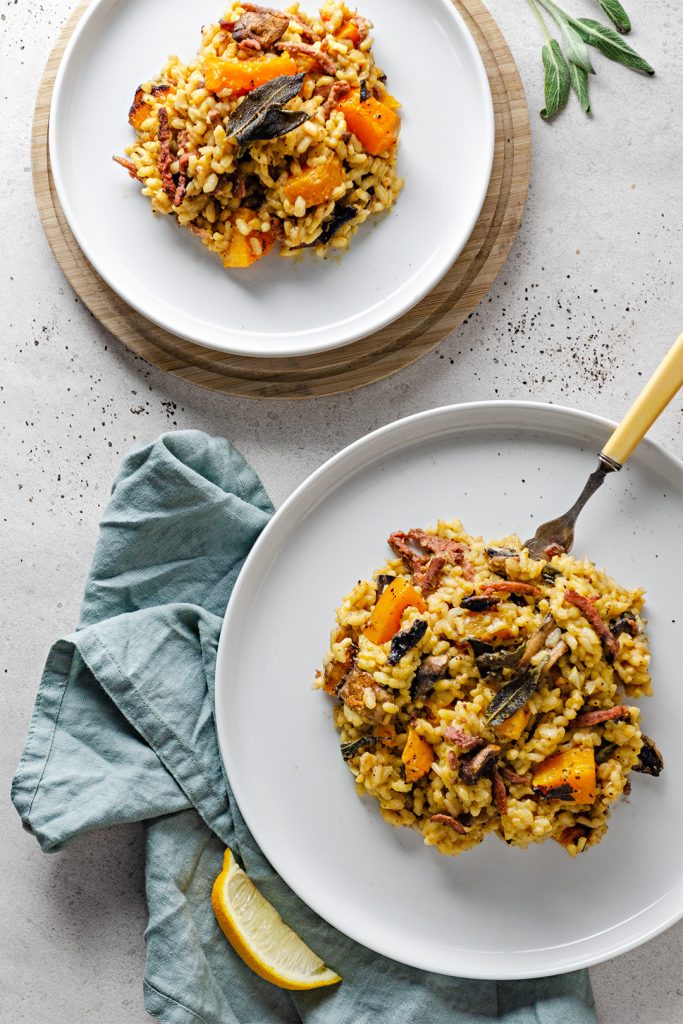
We use overhead food photography setups all the time in our home studio here in Bristol. This style of shooting has got may names; flat lay, overhead, birds-eye view. Whatever you call it, it’s a great way of creating a graphic look by getting over your food and flattening the depth of the subject. They’re also great for shooting down into tall bowls or glasses/mugs. However, they do have a few limitations, sandwiches and burgers for instance often don’t look their very best.
There are many ways to create an overhead picture, raining from super simple to overly complex. When I was a food photography assistant I saw all the different methods used. What I’ve written up here is 4 great ways in which I’ve seen professional food photographers use to achieve overhead pictures, each has their pros and cons and I’ll share my thoughts on them!


1 – Handheld
This is by far the simplest way to achieve the overhead angle
It requires zero additional equipment, which means it is very quick to use. The best way to create a handheld overhead is to position yourself above your subject. The easiest way to do this is to place your subject on the floor and stand over it. Hold your camera as you usually would for best stability, close to the body, and start shooting. It’s that simple. The main drawback to this method is that it can be more difficult to light your subject when you can’t get below it.
The other method I’ve seen is to hold your camera away from your body, out and over the subject, but this is inferior to standing over the food. This is because you’ve got much less stability and control when you’re holding the camera out. The only time I would recommend doing this is when you simply can’t get above the subject. I’ve been there, working in a busy restaurant when you can’t stand on the table or place the food on the floor.
Pros:
- Very quick, zero setup time mean you can go between two angles effortlessly.
- Cheap, it doesn’t require any specialist equipment
Cons:
- Unstable, unless you’re shooting with a faster shutter speed you’re likely to get camera shake
- Not repeatable, you’ll move and it will be essentially impossible to get back to the same position.
- Tiring, especially if you’re holding the camera out from your body. This method can take a toll on your back!

2 – Regular tripod
This is perhaps the most common way I’ve seen people take beautiful overhead photos
It’s far more stable than taking the photos handheld, and it’s fairly quick to set up when you know what you’re doing. I find it balances speed and stability very well.
To do this, you’ll want to get a tripod that has legs that can position very wide. Essentially you’re shooting down between the legs of the tripod. Open the legs as wide as possible, keep the camera as close to the tripod legs as possible (not extended) and tilt the camera down. It’s best to shoot with something around 35mm to get the most space in your frame.
The main drawback is that you often can’t get your camera that far away from the subject. The best way to get the most space in the frame is to shoot with a wider lens, but be careful with parallax which creates the fish-eye effect. The lowest I’ll go is 35mm when setup like this. The other thing to keep in consideration is the amount of space your tripod legs will be taking up. If you’re tight on space, perhaps the next method is best?
Pros:
- Quick, it requires little setup and is fast to do when you’ve had some practice
- Repeatable, since you’re shooting on a tripod the camera will be locked off
- Cheap, a tripod is an essential piece of kit that you probably already own, if you don’t then I highly recommend you get one ASAP
Cons:
- Space, the tripod legs can take up a lot of space when fully extended out wide
- Close to the subject, you may not have enough vertical room to get the whole subject in the frame
- Legs, the tripod legs can get into the frame as well as sometimes blocking your light source
3 – Tripod with overhead arm
This method is essentially the same as the previous tripod method, only it uses an extra, very handy, piece of gear. The tripod arm!
What you’ll want to do is set up the tripod as normal, and replace the tripod head with the arm and attach the head to the end of the arm. Now you have a boom that you can extend out over your subject. No longer do you need to place the food underneath the tripod. You can now use this arm to reach out over the food and shoot without any legs in the picture!
Do be careful, however, if you have a heavy camera. At full extension, the camera on the end of the tripod arm can be unstable since the centre of balance is off. You can weight down the tripod to counterbalance, but that requires some heavy sandbags which aren’t always easy to get hold of!
Pros:
- Repeatable
- Stable
- Small footprint
- Easier to light, no legs in the way
cons:
- Extra kit, tripods often don’t come with arms so you’ll have to spend some cash on one
- Weights, it’s not a bad idea to use weights with your tripod all the time but it becomes increasingly vital shooting at full reach
4 – Background roll stand with clamp
This is by far the most permanent and involved method to take an overhead photo.
You’ll be setting up a goalpost of sorts to hang your camera from. This is very stable but takes a decent amount of time to set up and requires the most kit of all of the 4 options.
The best way to do this is to use a background roll stand, you can get these fairly cheaply online. Set up the stands and crossbar so it arches over your subject. Next, you’ll need a sturdy clamp, I recommend a super clamp with a tripod thread. This will screw in where your tripod head would have. Suspend the camera clamped to the crossbar above the food and shoot away!
Pros:
- Very stable
- Lots of room to play with, vertically and horizontally
Cons:
- Large footprint, your whole setup will take up a bunch of room! this means it could be prone to be accidentally kicked or moved.
- Lots of kit, you’ll need to get more specialised gear for this that you may not own.
So which of these 4 are my favourites?
I personally use the regular tripod (number 2) most of the time.
This is perfect for me since it doesn’t require much gear, it’s fairly stable, and it’s quick to set up. Number 3, the tripod arm, is a great option if you’re going to be doing overhead frequently. It also gives you the most room to light with and to move the food around. I don’t like to shoot handheld unless I can’t help it, and I think that number 4, using a background roll and clamp is overly complex. That being said, I have seen this being used in a small cafe on a location job. It was taxing to get up, but very useful once we had it all in position.